

(In case you missed them, here are links to part one and part two.)
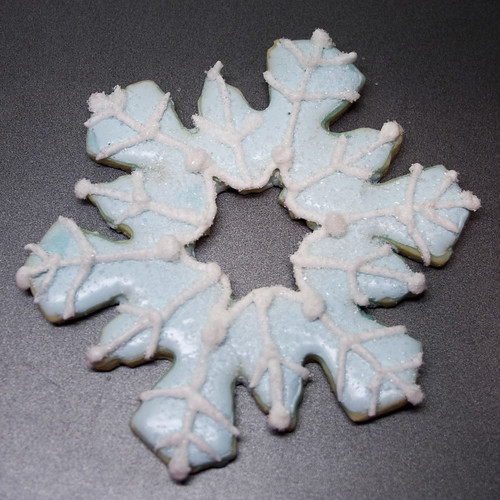
After you have what is more or less a base coat of icing on your cookies, you can do all your detail work. For me, this includes doing the outlines too. For these cookies, I pretty much just winged it and piped mostly straight lines and dots. The nice thing about snowflakes is that they can be as simple or as intricate as you want, and either way, they look good. Especially if you use sanding sugar. Sprinkles/jimmies will work too, but I prefer Sanding Sugar
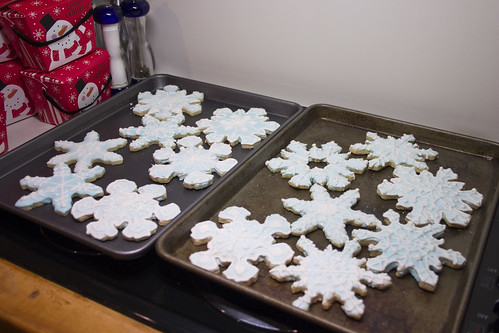
Here's a pic of the finished cookies. Apologies for the picture quality. I dropped my DSLR the other day and it seems to be acting up now.
I think this one was my favorite:
I sprinkled the sugar on pretty much immediately after piping so that it would stick. Be generous with the sugar; it looks much prettier that way. I usually decorate the cookies on a small cooling rack with parchment underneath to catch the overflow. This way you can pour off the excess sugar and reuse it, if necessary.
After that, give them some more time to dry. I waited about 6 hours, but overnight would have been better. Then I bagged each cookie in an individual cellophane bag and tied with ribbon. They make great favors and teacher gifts.
No comments:
Post a Comment